The Logitech pedal wire has a hard life. It lives on the floor, gets stood on, chair legs crush it, people trip over it, etc. Poor Logitech pedal wire!
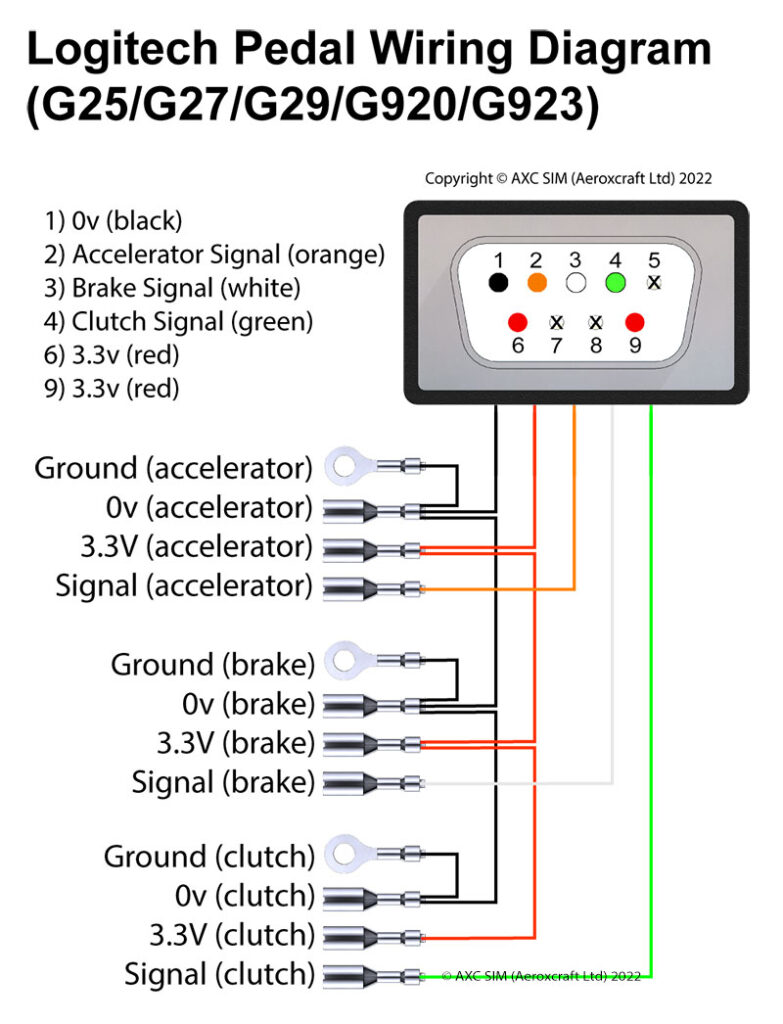
This is the wiring diagram for the stock Logitech pedal wiring loom.
For it to work correctly there should be no breaks, shorts or high resistance. High resistance can be due to partial breaks in the copper wires.
NOTE: Faults in the wiring loom are not always obvious from the outside of the cable.
The only way to really test it properly is with a multimeter.
Use this diagram to help you pinpoint any faults.
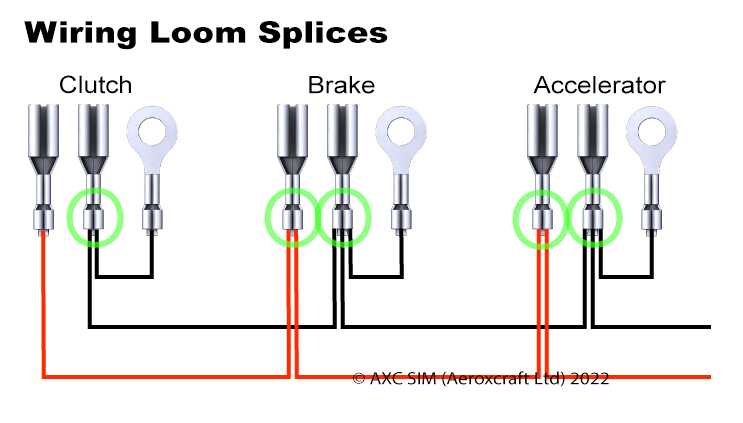
The splices are crimped together and can be a source of faults. Poor crimping and corrosion can also cause high resistance.
Resistance is the the opposition of current in an electrical circuit.
HOW TO TEST WITH A MULTIMETER
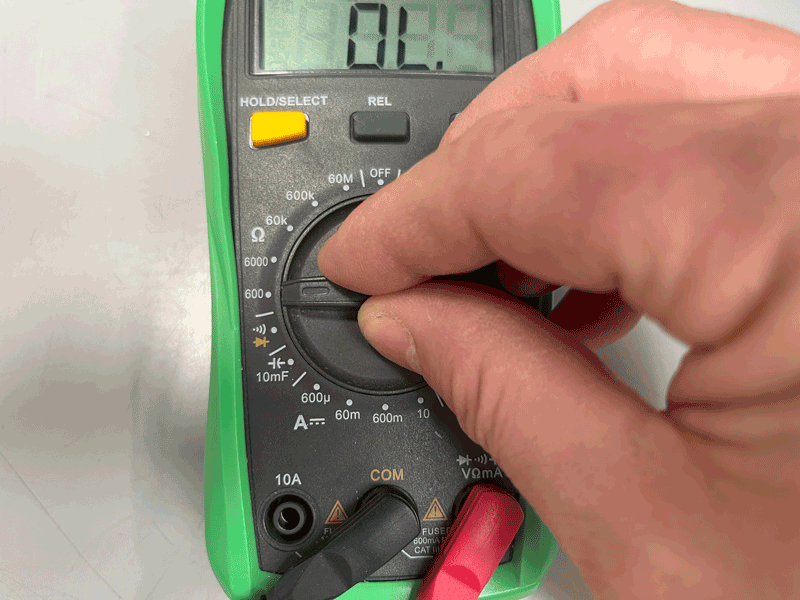
Set your multimeter to the lowest resistance setting.
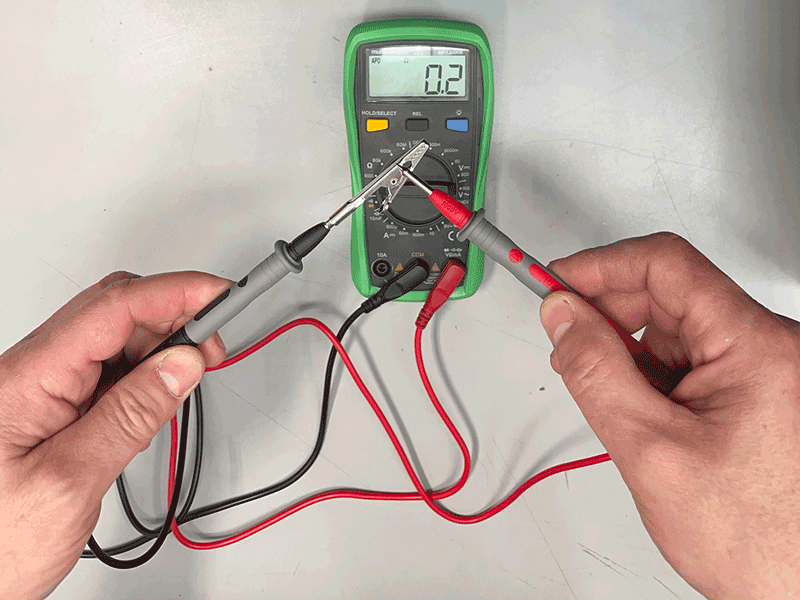
Connect the two leads together and make a note of the reading. This is the base reading of your multimeter, sometimes it can be as high as 10 ohms. In this case it is only 0.2 ohms.
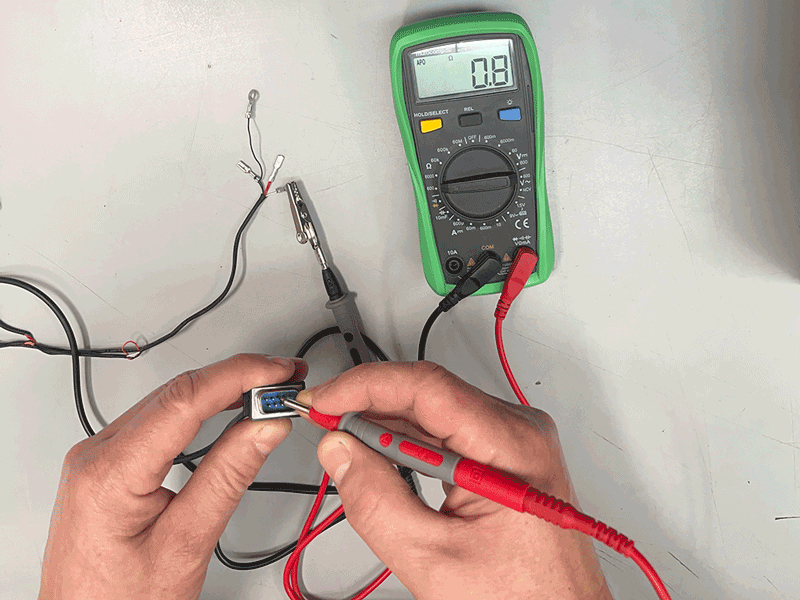
Here I am measuring the resistance of the white signal wire, between the spade connector and its associated pin on the 9 pin connector.
It is showing as 0.8 ohms (the actual value will be 0.6 ohms after subtracting the above base value of 0.2 ohms).
The signal wires in the loom are connected directly without any “daisy chain” splices.
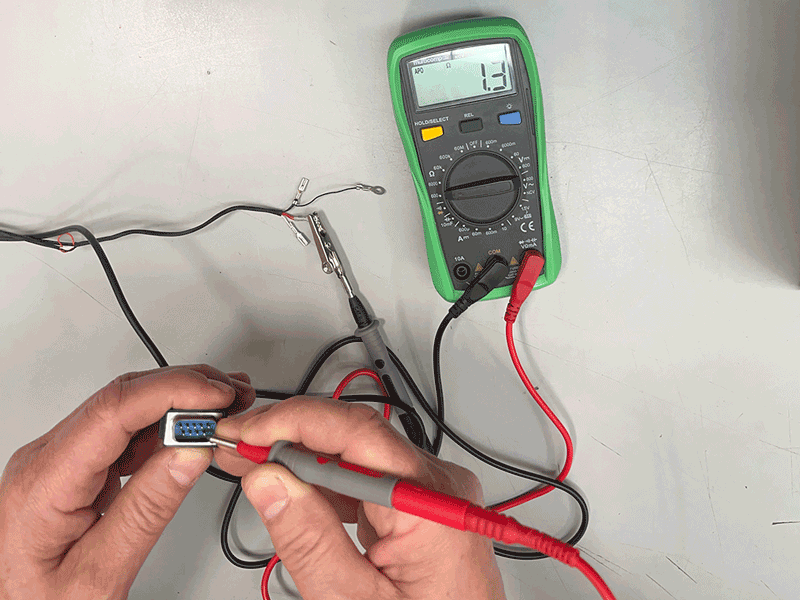
The power wires in the loom are connected by “daisy chain” splices, and so the resistance can be a little higher.
Check the resistance of all the wires with your multimeter. If any of them are high then it indicates a problem that will affect the operation of the pedals.
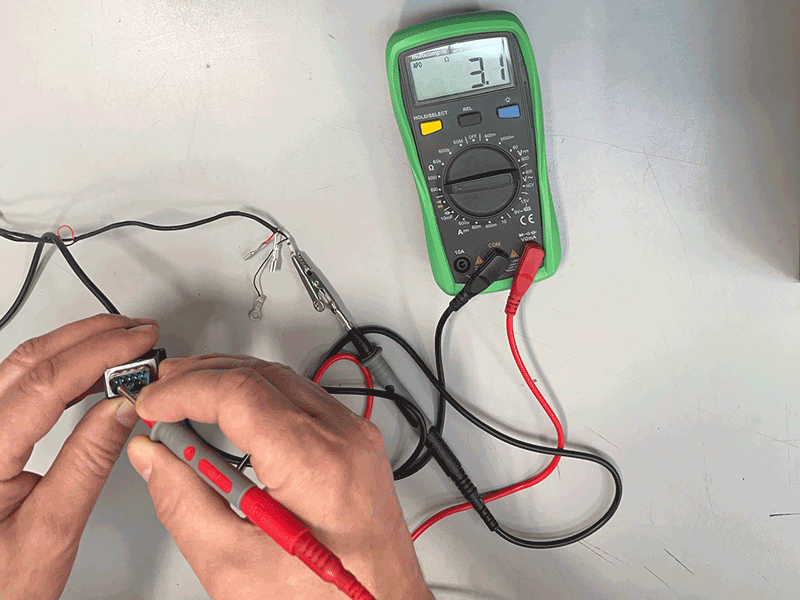
This black ground wire has a higher resistance, probably caused by the crimped splices.
Our replacement wiring looms do not use crimped splices. We use a different layout and the splices are soldered.
This wiring loom is working OK. If your wiring loom has resistance higher than a few ohms it could indicate damage to the thin copper wires or poor quality crimps. You will have to either find the fault and repair it, or buy a replacement wiring loom.

 No tariffs for US orders under $800 – Shop worry-free!